


Posting Audio
Last updated 3/22/2024.
If you are scheduling a post, skip steps 10 - 14.
Step 1. Log into your Squarespace Account.
Step 2. Click “Website” from the left hand side navigation bar on the back end of your site.

All shows are added to the Show Archives blog function. Step 3. Click “Show Archives” found under the Not Linked pages section.

Step 4. Click “Blog Content”

Step 5. Click the + icon to add your new show recording.

Step 6. Enter the show title. Be sure to be consistent with the naming convention of the show.

Step 7. Hover to find Blue Plus icon and click to add audio block.

Step 8. Select Audio from list of blocks.

Step 9. Upload audio track and add title in the Title field. Wait for audio file to fully load. Once loaded, click out of pop up to proceed.

Step 10. Click “Save” then “Publish” in the top left corner.

Step 11. Click “Done” on pop up.

Step 12. Change “Aired date” and categorize by show by click the ellipses of the now published show post.

Step 13. Click “Settings” from the drop down menu that shows up after click the ellipses.

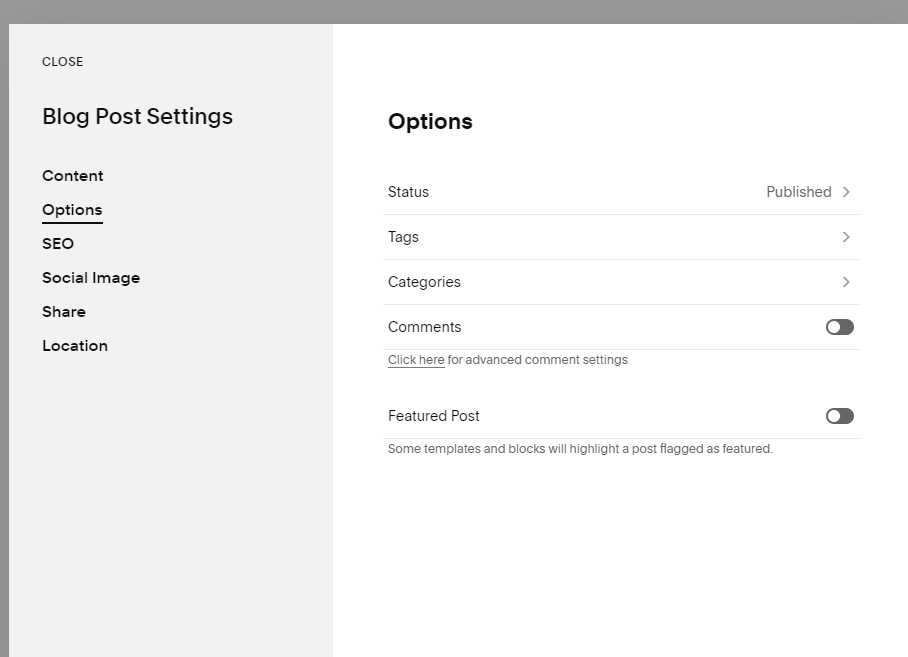
Step 14. Click “Options” You will update the “aired date” by clicking status, and add the appropriate category by clicking Categories. Category selection is necessary in order for the show post to populate summary blocks across the website. Type in one of the following categories: Community Spotlight, Economic Update, Mercer County Minutes, Taste & See, or Real Business
If you are scheduling a post, complete steps 1-9 and the do the following steps.
Step 15. Click “Save” then click “Schedule” from the dropdown menu that shows when you hover over “Publish”

Step 16. Select your publish date and time, then click “Schedule”

Step 17. Click “Exit” so you can add the necessary category. Category selection is necessary in order for the show post to populate summary blocks across the website. Type in one of the following categories: Community Spotlight, Economic Update, Mercer County Minutes, Taste & See, or Real Business

Step 18. Click the ellipses and “Settings” of the show that was just scheduled.

Step 19. Click “Options from the left hand menu and then click “Categories” to add the appropriate category. Type in one of the following categories: Community Spotlight, Economic Update, Mercer County Minutes, Taste & See, or Real Business

Step 20. Once it’s been added, you do not need to click the checkbox. Click “Save”. You’re all set!


Creating a Sermon Series
Start by opening the Sermons page in the Squarespace back end. Then click the Edit button.
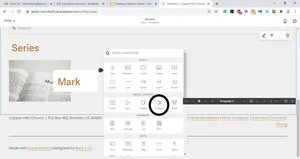
Add a Collage Image block to the series section of your page.
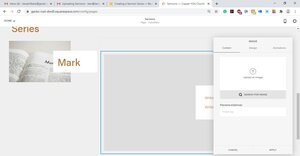
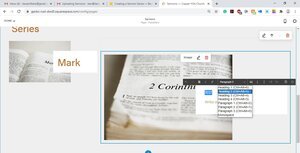
Upload the image used for the new series and add the series title to the title portion of the collage and click apply.
Highlight the title and change the font size from Paragraph 2 to Heading 2
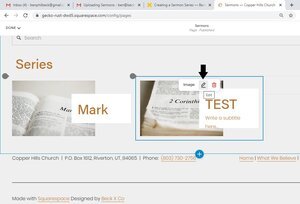
Drag and drop the image block to where you want it placed on the page. Use the spacer block to conform the image size.
4. Click on the Pencil icon on the image block to add the link to the sermon category.
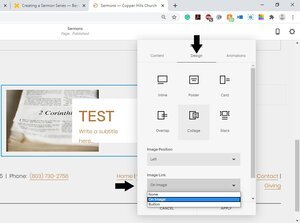
5. Click on the Design tab of the dialog box and click the On Image selection in the drop down menu under Image Link
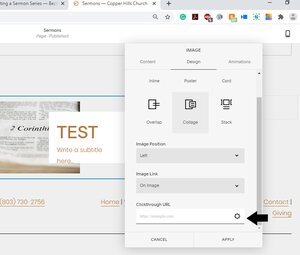
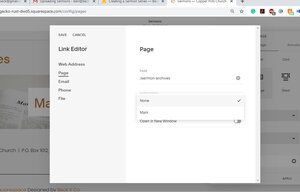
6. A Clickthrough URL field will appear below the Image Link. Click the Gear icon.
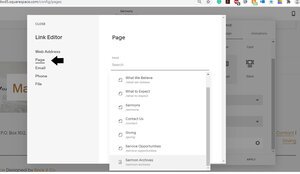
7. Select the Page option and click in the search bar to search for the Sermon Archives blog page and select
8. Lastly, select which Category you want to filter the link to. Click save then click apply on the image dialog box and lastly save your changes to the page by clicking done. This will make only the sermons in the series category you created on the sermon archive blog post show up once the image is clicked. Note: You have to make a post and add a new category before you create a new sermon link as outlined.

Blog Post Title Four
It all begins with an idea.
It all begins with an idea. Maybe you want to launch a business. Maybe you want to turn a hobby into something more. Or maybe you have a creative project to share with the world. Whatever it is, the way you tell your story online can make all the difference.
Don’t worry about sounding professional. Sound like you. There are over 1.5 billion websites out there, but your story is what’s going to separate this one from the rest. If you read the words back and don’t hear your own voice in your head, that’s a good sign you still have more work to do.
Be clear, be confident and don’t overthink it. The beauty of your story is that it’s going to continue to evolve and your site can evolve with it. Your goal should be to make it feel right for right now. Later will take care of itself. It always does.